Effective communication with your website visitors is crucial for building strong relationships and enhancing user experience. One of the most common ways to facilitate communication on a WordPress website is through a contact form. However, relying on the default WordPress mail function for sending emails might lead to delivery issues or emails being marked as spam. To ensure reliable email delivery, setting up SMTP (Simple Mail Transfer Protocol) with your WordPress contact form is a smart choice. In this guide, we will walk you through the process step by step.
Step 1: Create SMTP on your Control panel
Its not big deal to create SMTP on our Web Hosting control panel .
You need to log in Web Hosting panel and go to the email section and create an email account. Note your email and password for further use.
Now you created email account.
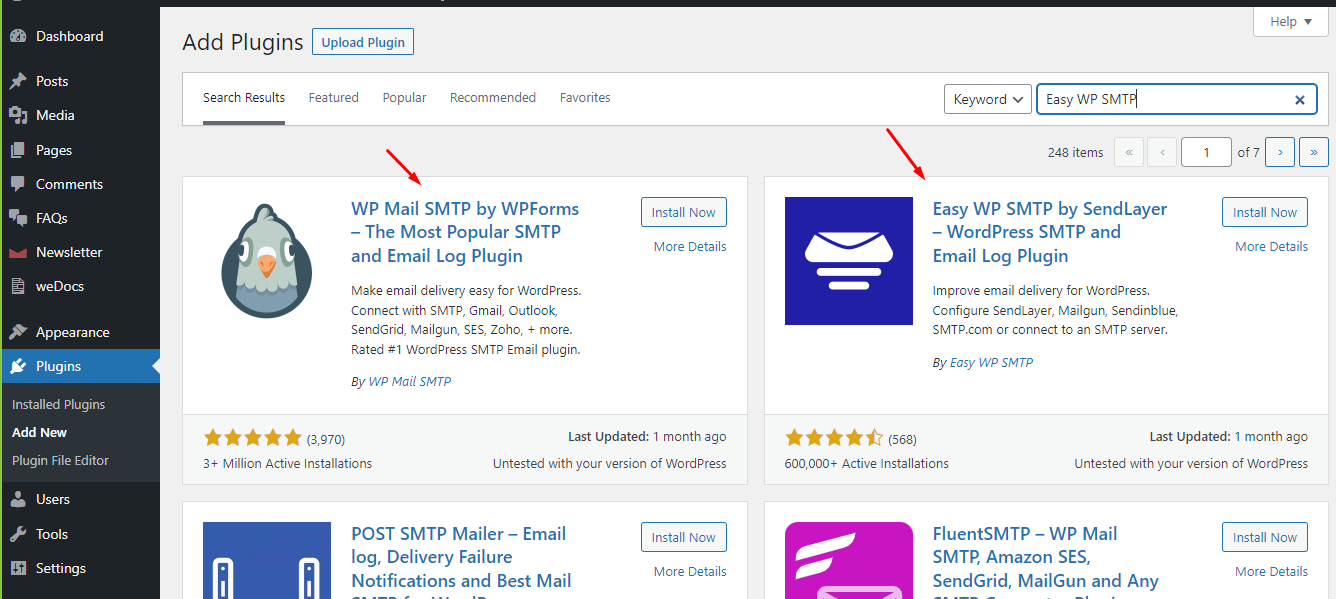
Step 2: Install and Activate a Plugin
To streamline the process, consider installing and activating an SMTP plugin on your WordPress website. “WP Mail SMTP” and “Easy WP SMTP” are popular choices. Go to your WordPress dashboard, navigate to “Plugins” > “Add New,” search for your chosen plugin, and click “Install” followed by “Activate.”
Step 3: Configure the SMTP Plugin
Once the plugin is activated, navigate to its settings. You will usually find a new tab in your WordPress dashboard menu labeled “SMTP” or something similar. Access the plugin’s settings and enter the SMTP server details provided by your chosen service provider. This typically includes the SMTP host, port number, encryption method (SSL/TLS), and your SMTP username and password.
As you created email on Step 1 , This email address is username of SMTP , Password of email is SMTP password and Host name is your server IP or your website domain name ( Domain must be point our server ) and Port is 587 , 25 and 465
Here is a screenshot of install process
Step 3: Test Your Setup
After configuring the plugin, it’s crucial to test your SMTP setup. Most SMTP plugins offer a built-in testing feature. Send a test email to your own email address and verify whether it’s delivered successfully. This step helps ensure that your SMTP configuration is working as expected.
Step 6: Integrate with Your Contact Form
If you’re using a popular contact form plugin like “Contact Form 7” or “WPForms,” integrating your SMTP setup is usually straightforward. Access the contact form’s settings and look for an option related to email or SMTP. Input the “From” email address, which should match the sender’s email in your SMTP configuration.
Step 7: Monitor and Troubleshoot
Regularly monitor your email communication to ensure everything is functioning as intended. Check the deliverability of the emails and keep an eye on your email logs within the SMTP plugin. If you encounter any issues, refer to the plugin’s documentation or seek assistance from your SMTP service provider’s support team.